by Christopher Jones
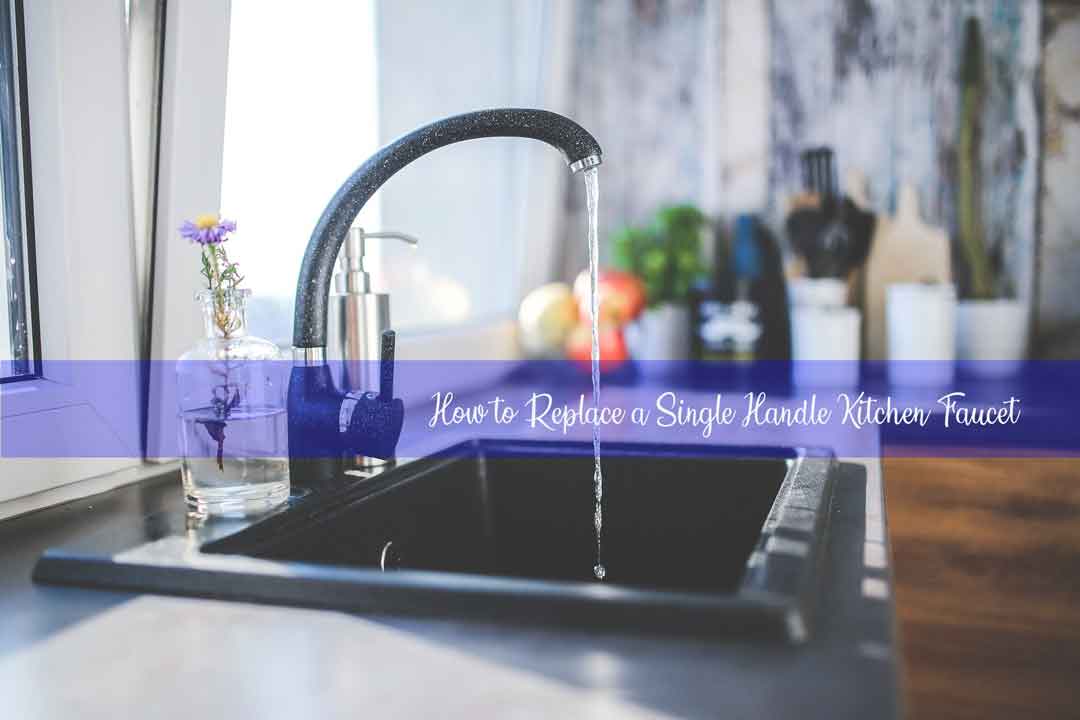
What's the single most impactful upgrade anyone can make to a tired-looking kitchen in under an hour? In our experience, the answer is to replace a single handle kitchen faucet. It's one of those projects that looks intimidating but is genuinely straightforward once the right tools are lined up. Our team has swapped out dozens of faucets over the years, and we can say with confidence that most people can handle this job without calling a plumber. Whether the old faucet is leaking, corroded, or just outdated, a replacement breathes new life into the entire sink area — and it pairs perfectly with other kitchen maintenance projects.
A single handle faucet uses one lever or knob to control both water temperature and flow. That simplicity makes it the most common type in modern kitchens — and it also makes it one of the easiest to replace. The mounting footprint is smaller, there are fewer supply connections, and the whole process from start to finish takes most people 30 to 45 minutes.
Below, we walk through every step, from recognizing when a replacement is needed to avoiding the mistakes that trip up first-timers. Anyone planning a larger kitchen renovation will find that starting with the faucet builds confidence for bigger tasks down the road.
Contents
Not every drip means a full replacement is necessary. But there are clear signals that repairing the existing faucet is throwing good money after bad. Our team uses a simple rule: if the faucet has needed two or more repairs in a single year, it's time to replace a single handle kitchen faucet entirely.
The most obvious sign is a leak that keeps returning after cartridge or O-ring replacements. Other red flags include:
Corrosion on the supply connections is the most urgent warning sign because it can lead to a sudden failure and water damage under the cabinet. According to the U.S. EPA, household leaks waste nearly one trillion gallons of water annually — a dripping faucet contributes more than most people realize.
If the faucet is less than five years old and the issue is a single drip from the spout, replacing the cartridge usually solves the problem for under $15. A loose handle often just needs the set screw tightened. Our recommendation: repair if the fix is simple and the faucet body is in good shape. Replace if the faucet is showing its age in multiple ways at once.
Having everything ready before crawling under the sink saves time and frustration. Here's what our team gathers for every faucet swap.
| Tool / Material | Purpose | Typical Cost |
|---|---|---|
| Basin wrench | Reaches mounting nuts in tight spaces behind the sink | $10–$20 |
| Adjustable wrench | Disconnects supply lines | $8–$15 |
| Plumber's putty or silicone | Seals the faucet base to the sink deck | $4–$7 |
| Bucket and towels | Catches residual water when lines are disconnected | On hand |
| Plumber's tape (Teflon) | Seals threaded connections | $2–$4 |
| Flashlight or headlamp | Illuminates the dark cabinet interior | On hand |
| Channel-lock pliers | Loosens corroded or stuck fittings | $10–$18 |
| New faucet with supply lines | The replacement unit itself | $50–$300 |
Before purchasing, measure the mounting hole diameter on the sink deck. Most single handle faucets use a standard 1-3/8 inch hole, but some older sinks have wider openings that need a deck plate (escutcheon) to cover extra holes. Check whether the new faucet includes supply lines — many modern models come with braided stainless lines pre-attached, which eliminates one step entirely.
Pull-down sprayers are the most popular style right now, but anyone with low cabinets above the sink should consider a pull-out or standard spout instead to avoid clearance issues.
The shut-off valves sit under the sink — one for hot, one for cold. Turn both clockwise until they stop. Then open the faucet handle to release any remaining pressure and drain residual water. If the valves are old gate-style and won't fully close, the main water supply to the house needs to be shut off instead. This is also a good time to inspect the valves themselves; if they're stiff or leaking, replacing them with quarter-turn ball valves while the water is off is a smart move.
Pull everything out from under the sink. Lay a towel down and position a bucket directly below the supply connections. Anyone who has been meaning to organize kitchen cabinets will find this is the perfect excuse to sort through what's under there. Good lighting is critical — a headlamp keeps both hands free, which matters when working in that cramped space.
If the mounting nut won't budge, a few drops of penetrating oil (like PB Blaster) and 15 minutes of patience will save a lot of skinned knuckles.
The entire installation takes most people about 20 minutes once the old faucet is out. It's one of those jobs where preparation accounts for more than half the total time.
This is the number one mistake our team sees. Cranking down on supply line nuts or the mounting hardware can crack plastic fittings, strip threads, or even damage the sink itself. Snug plus a quarter turn is the sweet spot. If a connection leaks after hand-tightening, the issue is usually a missing washer or misaligned threads — not insufficient force.
Other common errors include:
Turning the water back on and walking away is a recipe for water damage. Our team always lays paper towels around every connection and checks them after 10 minutes, then again after an hour. A slow drip that isn't caught immediately can warp the cabinet floor or promote mold growth. Anyone planning to repaint kitchen cupboards will want to make sure there's no moisture issue under the sink first.
Hiring a plumber for a basic faucet replacement typically costs between $150 and $350 in labor alone — on top of the faucet itself. Doing it independently brings the total cost down to just the price of the faucet and maybe $20 in supplies. On average, our team estimates the savings at around $200 per installation. For a kitchen that needs both a faucet swap and some cosmetic updates like painting kitchen units, that savings can fund the next project.
A new faucet often sparks a chain of small improvements. The most natural pairings include:
Each of these additions takes 15 minutes or less and compounds the visual impact of the faucet upgrade.
Most people complete the job in 30 to 45 minutes. Removing the old faucet takes the longest, especially if the mounting nut is corroded. The actual installation of the new faucet is typically 15 to 20 minutes.
Most use a standard 1-3/8 inch mounting hole, but it's always worth measuring first. If the sink has multiple holes from an older three-handle setup, a deck plate can cover the extras.
Our team strongly recommends replacing them. Old braided or copper supply lines can have weakened connections or hidden corrosion. New braided stainless lines cost a few dollars and eliminate a major leak risk.
Plumber's putty is easier to work with and clean up, making it the go-to choice for most faucet installations. Silicone creates a stronger seal but is harder to remove later. Always check the faucet manufacturer's recommendation — some include a gasket that eliminates the need for either.
Shut off the main water supply to the house instead. While the water is off, replacing those old gate valves with quarter-turn ball valves is a worthwhile upgrade that prevents this problem in the future.
In most jurisdictions, a simple faucet replacement does not require a permit because it involves no changes to the plumbing lines themselves. However, if the project expands to include moving pipes or adding a new water line, local codes may require one. Checking with the local building department is always a safe step.
A new kitchen faucet is one of the few home upgrades that costs under $100 in most cases, takes less than an hour, and changes the look and feel of the space every single day.
 |
 |
 |
 |

About Christopher Jones
Christopher Jones holds an MBA from the University of San Francisco and brings a business-minded approach to kitchen gear evaluation — assessing products not just for performance but for long-term value, build quality, and real-world usability in everyday home cooking. He has spent years testing appliances, cookware, and kitchen gadgets with the same analytical rigor he developed in business school. At BuyKitchenStuff, he covers kitchen appliance reviews, buying guides, and practical cooking tips.
Check for FREE Gifts. Or get our Free Cookbooks right now.
Disable the Ad Block to reveal all the recipes. Once done that, click on any button below
|
|
|
|
