by Rick Goldman
Learning how to make pizza at home is easier than you think — all you need is a hot oven, a few pantry staples, and about an hour of your time. Whether you're craving a classic Margherita or loading up on toppings, homemade pizza beats delivery in flavor, cost, and satisfaction every single time. If you already enjoy cooking from scratch — like making your own pasta noodles — you'll find that pizza dough follows a similar rhythm of mixing, kneading, and patience.

The beauty of homemade pizza is total control. You pick the crust thickness, the sauce flavor, and exactly how much cheese goes on top. No more settling for soggy crusts or skimpy toppings. Plus, once you nail the basics, you can riff endlessly — from deep-dish to thin-crust, white pizza to Detroit-style. It's one of those skills that pays off every single week.
This guide walks you through everything: dough from scratch, sauce options, oven techniques, topping strategies, and troubleshooting common mistakes. By the end, you'll have the confidence to make restaurant-quality pizza in your own kitchen. Let's get into it.
Contents
Great pizza starts with great dough. You don't need a fancy stand mixer or imported flour — just the right ratios and a bit of time. The history of pizza goes back centuries, but the core dough formula has stayed remarkably simple.
Here's what you need for two medium pizzas:
If you're out of a specific ingredient, don't panic. You can use milk substitutes in enriched dough recipes, and a pinch of baking soda mixed with cream of tartar works if you're experimenting with quick-rise variations. The key is getting the water temperature right — too hot kills the yeast, too cold and it won't activate.
Follow these steps for reliable dough every time:
Cold fermentation is a game-changer. If you have time, refrigerate your dough for 24–72 hours after the initial rise. This slow ferment develops deeper flavor and a more complex, slightly tangy taste that you simply can't get from a quick rise.
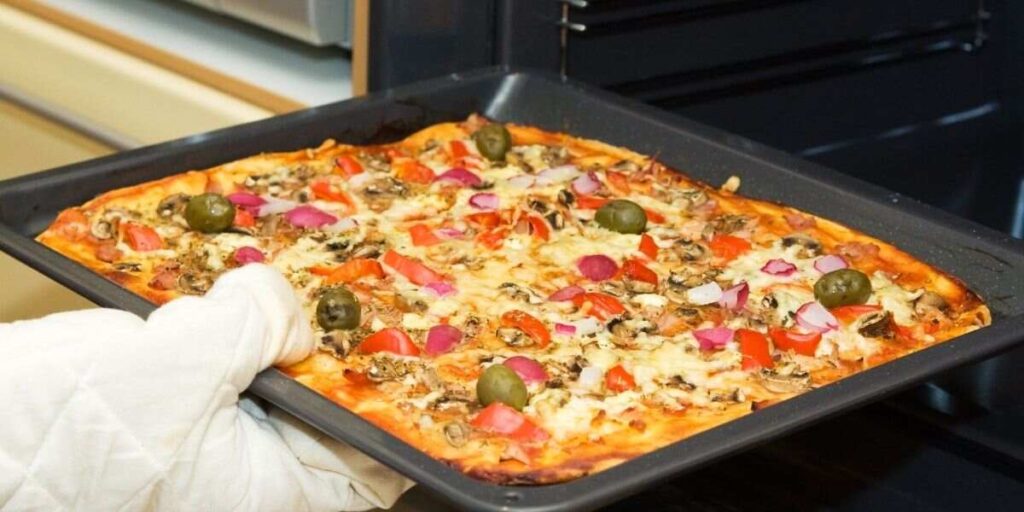
Your oven setup matters more than most people realize. A few simple adjustments can take your pizza from good to outstanding. You don't need a wood-fired oven — a standard home oven works perfectly when you know how to use it.
This is the single most important factor in getting a crispy crust:
Pro Tip: If your oven maxes out at 450°F, extend your bake time by 2–3 minutes rather than lowering expectations. The pizza will still turn out well — it just needs a bit more patience to develop that golden crust.
Both work, but they produce different results. Here's a quick comparison:
| Surface | Preheat Time | Crust Result | Ease of Use | Cost |
|---|---|---|---|---|
| Pizza stone | 30–45 min | Crispy, evenly browned | Moderate (needs peel) | $20–$50 |
| Baking steel | 30–45 min | Crispiest, fastest bake | Moderate (needs peel) | $50–$80 |
| Sheet pan | None | Soft, pan-style crust | Very easy | Already own it |
| Cast iron skillet | 5 min on stovetop | Deep-dish, crispy edges | Easy | $20–$40 |
| Inverted sheet pan | 15–20 min | Decent crisp, thin crust | Easy | Free (flip what you have) |
If you're serious about homemade pizza, a pizza stone or baking steel is worth the investment. But don't let the lack of one stop you — a preheated inverted baking sheet is a surprisingly effective hack. If you're thinking about upgrading your kitchen gear, take a look at our guide on how to design a kitchen for layout ideas that make cooking more efficient.
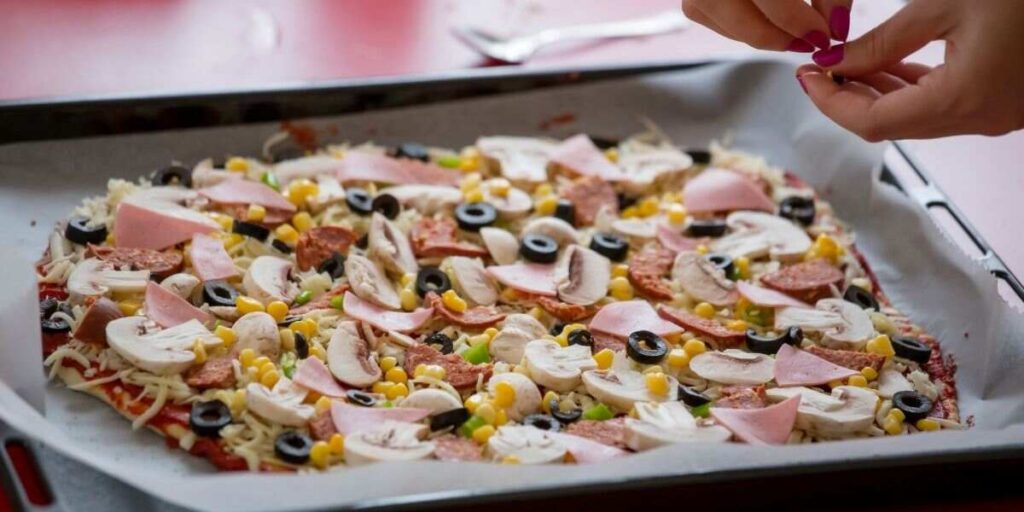
Assembly is where most home pizzas go wrong. Too many toppings, too much sauce, wet ingredients that steam instead of roast — these mistakes are easy to avoid once you know the rules.
You have two main paths for pizza sauce:
Either way, use about ¼ cup of sauce per pizza. Spread it in a thin, even layer leaving a ½-inch border for the crust. Resist the urge to overdo it — excess sauce makes for a soggy center. If you enjoy making condiments from scratch, you might also like our recipe for homemade garlic sauce, which makes an incredible drizzle for finished pizza.
The order you layer toppings affects how they cook. Follow this sequence:
Key ratios to remember:
Once you've got the basics down, small tweaks can elevate your homemade pizza dramatically. These are the low-effort, high-reward moves that separate a decent pie from an exceptional one.
Add these after the pizza comes out of the oven:
These finishing ingredients add brightness and contrast that cooked-on toppings can't provide. Think of them as the difference between a home-cooked meal and a restaurant plate.
Try incorporating these into your regular rotation:
Quick Warning: Don't brush olive oil on raw dough before adding sauce — it creates a slippery layer that prevents the sauce from adhering properly. Save the oil for the crust edges or for finishing.
If you enjoy experimenting in the kitchen, you might want to try making oven-baked french fries as a side. They bake at similar temperatures and make a great companion to pizza night.
Once you're comfortable with the process, it's time to explore different styles and flavor profiles. Here are some combinations that work reliably well at home, from traditional favorites to more creative builds.
For a well-rounded dinner, pair your pizza with a side salad or check out our recipes collection for more ideas that complement pizza night. You can even prep a batch of frozen burger buns to have on hand for quick meals throughout the week — the same freezer organization principles apply to storing extra pizza dough.
Even experienced home cooks run into pizza problems. The good news is that most issues have straightforward fixes. Here's a rundown of the most common complaints and what to do about them.
Most pizza problems come down to heat management and moisture control. Keep those two variables in check, and you'll consistently produce great results. Thinking about your overall approach to balanced meals can also help you plan pizza night alongside lighter dishes throughout the week.
Yes. A simple no-yeast dough uses self-rising flour (or all-purpose flour with a baking powder substitute), Greek yogurt, and a pinch of salt. The texture is more flatbread-like — dense and chewy rather than airy. It's a solid shortcut when you don't have time for rising.
At 500°F, most thin-crust pizzas take 8–12 minutes. Thicker crusts or heavily topped pizzas may need 12–15 minutes. Watch for golden-brown crust edges and cheese that's bubbling with light brown spots. Every oven is different, so check at the 8-minute mark your first time.
Low-moisture whole-milk mozzarella is the most reliable choice — it melts evenly, browns nicely, and doesn't release too much water. Fresh mozzarella gives a softer, creamier result but can make the pizza wetter. Many pizzerias use a blend of both.
Absolutely. After the first rise, portion your dough into balls, wrap tightly in plastic wrap, then place in a freezer bag. It keeps for up to three months. Thaw overnight in the fridge, then bring to room temperature for 30 minutes before stretching.
It makes things easier, but it's not mandatory. You can build your pizza on a sheet of parchment paper and slide the whole thing — parchment and all — onto your hot stone or steel. Remove the parchment halfway through baking once the crust firms up.
You now have everything you need to make pizza at home that rivals your favorite pizzeria. Start with the basic dough recipe this weekend, keep your toppings simple for the first attempt, and focus on getting your oven as hot as possible. Once that first homemade pie comes out golden and bubbling, you'll wonder why you ever ordered delivery — so grab your flour, preheat that oven, and get your hands in some dough tonight.
 |
 |
 |
 |

About Rick Goldman
Rick Goldman grew up traveling the Pacific Coast and developed an early appreciation for regional and international cuisines through exposure to diverse food cultures from a young age. That culinary curiosity shaped his approach to kitchen gear — he evaluates tools based on how well they perform across different cooking styles, ingredient types, and meal occasions. At BuyKitchenStuff, he covers kitchen equipment reviews, recipe guides, and food-focused buying advice.
Check for FREE Gifts. Or get our Free Cookbooks right now.
Disable the Ad Block to reveal all the recipes. Once done that, click on any button below
|
|
|
|
