by Rick Goldman
Last winter, I found myself standing in front of an open fridge with exactly one chicken breast, a few sad carrots, and about forty-five minutes before my family started asking about dinner. That's the moment I truly fell in love with my pressure cooker. A solid pressure cooker chicken soup recipe turns basic ingredients into something that tastes like it simmered all day — and you can explore more quick meal ideas on our recipe blog. Once you nail the fundamentals, you'll never go back to the stovetop method.

The beauty of pressure cooking soup is the depth of flavor you get in a fraction of the time. Bones release collagen, vegetables soften perfectly, and aromatics meld together under high pressure in ways that normally take hours of gentle simmering. Whether you're using an electric model like the Instant Pot or a traditional stovetop pressure cooker, the principles stay the same.
This guide walks you through everything — from choosing the right chicken cuts to troubleshooting common mistakes. You'll get a reliable base recipe plus variations to keep things interesting week after week.
Contents
A pressure cooker raises the boiling point of water to around 250°F (121°C), compared to the standard 212°F at sea level. According to the Wikipedia entry on pressure cooking, this elevated temperature accelerates the Maillard reaction and breaks down collagen in connective tissue far faster than conventional methods. The sealed environment also prevents volatile aromatic compounds from escaping, which is why pressure-cooked soups often taste more concentrated.
Traditional chicken soup from raw ingredients takes 60–90 minutes of active simmering. A pressure cooker chicken soup recipe cuts that to roughly 25 minutes of total cook time — including the time to reach pressure. You're looking at dinner on the table in under 40 minutes from the moment you start chopping. That's a game-changer on busy weeknights, especially when you're also trying to fit in lighter Instant Pot meals throughout the week.
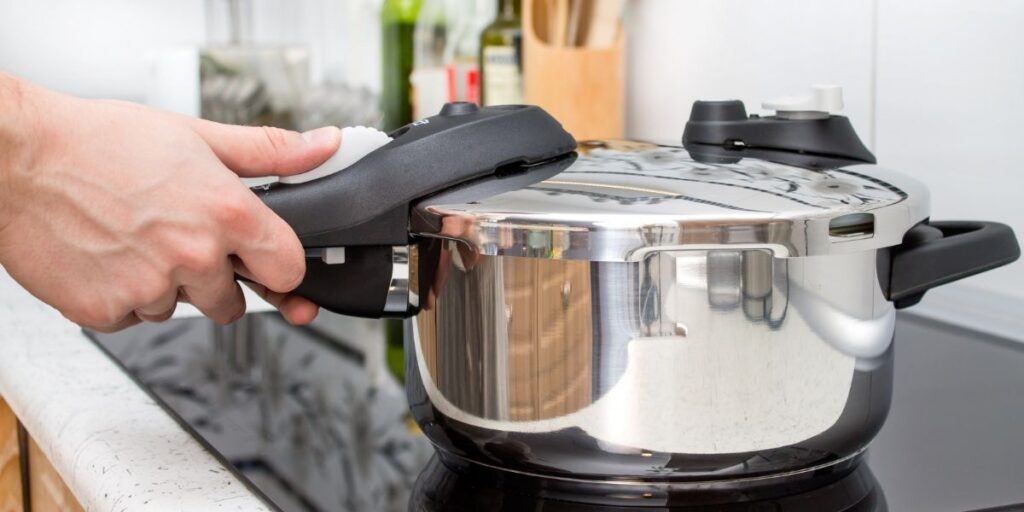
Pro tip: Let the pressure release naturally for 10 minutes before using the quick-release valve. This keeps the chicken tender and prevents broth from sputtering out of the steam vent.
Your choice of chicken dramatically affects the final soup. Here's how the most common options stack up:
| Cut | Cook Time (High Pressure) | Flavor | Effort | Best For |
|---|---|---|---|---|
| Bone-in thighs | 15 min | Rich, deep | Shred + remove bones | Maximum flavor |
| Boneless breast | 8 min | Mild, clean | Easy shred | Quick weeknight meals |
| Whole chicken | 25 min | Complex broth | Full breakdown needed | Batch cooking |
| Rotisserie (pre-cooked) | 5 min | Good, less depth | Shred and add | Fastest option |
| Drumsticks | 12 min | Moderate | Remove bones | Budget-friendly |
Bone-in, skin-on thighs deliver the best flavor-to-effort ratio. The bones add body to the broth, and dark meat stays moist even if you accidentally overcook by a minute or two. If you've ever had a great chicken pot pie, you know how much dark meat improves a dish.

This recipe serves 6 and keeps well in the fridge for up to four days. You'll need 1.5 pounds of bone-in chicken thighs, 3 medium carrots (diced), 3 celery stalks (sliced), 1 medium onion (diced), 4 cloves of garlic (minced), 6 cups of chicken broth, 2 cups of egg noodles, 2 tablespoons olive oil, 1 teaspoon dried thyme, 1 bay leaf, and salt and pepper to taste. If you're out of celery seed for extra depth, check out these celery seed substitutes that work surprisingly well in soups.
Start by setting your pressure cooker to the sauté function. Add olive oil and let it heat until it shimmers. Season the chicken thighs with salt and pepper, then sear them for 3 minutes per side until golden brown. Remove the chicken and set it aside.
Add the onion to the pot and cook for 2 minutes, scraping up any browned bits from the bottom. These fond bits are flavor gold — don't skip this step. Toss in the garlic and cook for another 30 seconds until fragrant.
Add the carrots, celery, thyme, and bay leaf. Pour in the chicken broth and stir everything together. Place the seared chicken thighs on top. Lock the lid, set the valve to sealing, and cook on high pressure for 15 minutes.
When the timer goes off, let the pressure release naturally for 10 minutes, then carefully switch to quick release. Remove the chicken, shred it with two forks, and discard the bones and skin. Return the shredded chicken to the pot along with the egg noodles. Use the sauté function again and cook for 6–8 minutes until the noodles are tender. Remove the bay leaf, taste for seasoning, and serve immediately.
Skipping the sauté step is the single biggest mistake people make. Browning the chicken creates caramelized proteins that dissolve into the broth during pressure cooking. You'll notice the difference immediately — the broth turns a deeper golden color and has a savory backbone that unseared chicken simply cannot produce. This same principle applies to the aromatics. Cooking onions and garlic in the rendered chicken fat builds layers of flavor that no amount of seasoning can replicate after the fact.
Add dried herbs like thyme and bay leaf before pressure cooking — they need time and heat to bloom. Save fresh herbs like parsley and dill for the very end, stirring them in after you release the pressure. A squeeze of lemon juice right before serving brightens the entire bowl. Some cooks add a splash of mirin or its substitute for a subtle sweetness that rounds out the savory notes. If you enjoy bold flavors, a pinch of smoked paprika or a few dashes of hot sauce added during the sauté phase transforms this into something entirely different.
Warning: Never fill your pressure cooker past the two-thirds line when making soup. Liquid expands under pressure, and overfilling can block the steam vent and create a safety hazard.
Carrots and celery break down quickly under pressure. Cut them into half-inch pieces — any smaller and they'll dissolve into mush. If you prefer firmer vegetables, add them after pressure cooking during the sauté phase when you cook the noodles. Delicate vegetables like spinach, peas, or zucchini should always go in at the very end, off heat, with just the residual warmth to wilt them. You can pair leftover roasted carrots with this soup too — those air fryer carrot recipes make a great crunchy topping.
The sealed environment of a pressure cooker means virtually no evaporation occurs during cooking. Use about 20% less liquid than you would in a traditional soup pot. Six cups of broth for 1.5 pounds of chicken yields a rich, properly concentrated soup. If it ends up too thick after adding noodles, stir in half a cup of broth at a time until you hit your preferred consistency. Too thin? Let it simmer uncovered on the sauté setting for 5–10 minutes to reduce.
After releasing the pressure and shredding the chicken, stir in half a cup of heavy cream and two tablespoons of cream cheese. The cream cheese adds body without making the soup overly heavy. For a lighter option, use a milk substitute like oat milk blended with a tablespoon of cornstarch. Let it simmer for 3 minutes to thicken before serving.
Replace the thyme with cumin and chili powder. Add a can of diced tomatoes with green chiles and swap the egg noodles for tortilla strips added at the end. Top with avocado, lime juice, and fresh cilantro. This version works beautifully alongside other Instant Pot recipes when you're meal prepping for the week. The pressure cooker concentrates the heat from the chiles, so start with less spice than you think you need — you can always add more at the table.
Yes. Add 5 minutes to the cook time for frozen boneless pieces and 8 minutes for frozen bone-in cuts. Place frozen chicken on top of the vegetables so it doesn't block the liquid from reaching pressure. The results are nearly identical to using thawed chicken.
Stored in an airtight container, it lasts 3–4 days in the refrigerator. For best results, store the noodles separately — they absorb broth over time and turn mushy. Reheat the broth and chicken together, then add fresh noodles.
Absolutely. Freeze the soup without noodles in portion-sized containers for up to 3 months. Thaw overnight in the fridge and reheat on the stovetop or in the microwave. Add freshly cooked noodles when you serve it.
Natural release lets pressure drop gradually over 10–15 minutes, keeping chicken tender and preventing broth from spraying through the valve. Quick release drops pressure immediately and is fine for vegetables but can toughen meat. Use a combination: 10 minutes natural, then quick release the rest.
Yes. Noodles cooked under pressure turn to paste. Always add them after releasing the pressure using the sauté function. Egg noodles take 6–8 minutes, while rice noodles need only 2–3 minutes in the hot broth off heat.
You can. Use a 3–4 pound whole chicken, increase the broth to 8 cups, and cook on high pressure for 25 minutes with full natural release. Remove the chicken, let it cool enough to handle, then pull the meat off the bones and return it to the pot.
 |
 |
 |
 |

About Rick Goldman
Rick Goldman grew up traveling the Pacific Coast and developed an early appreciation for regional and international cuisines through exposure to diverse food cultures from a young age. That culinary curiosity shaped his approach to kitchen gear — he evaluates tools based on how well they perform across different cooking styles, ingredient types, and meal occasions. At BuyKitchenStuff, he covers kitchen equipment reviews, recipe guides, and food-focused buying advice.
Check for FREE Gifts. Or get our Free Cookbooks right now.
Disable the Ad Block to reveal all the recipes. Once done that, click on any button below
|
|
|
|
