How to Make Homemade Ice Cream with an Electric Ice Cream Maker
Learn how to make creamy homemade ice cream with an electric ice cream maker, from preparing the base to churning and freezing perfect results every time.
by Rick Goldman
Last summer, I pulled my electric ice cream maker out of the back of the pantry on a whim, tossed together a simple vanilla base, and had the smoothest batch I'd ever tasted ready in under 30 minutes. That one afternoon changed how I think about dessert entirely. If you've been curious about making homemade ice cream electric maker style — where the machine does the hard work while you pick the flavors — you're about to discover how simple it really is. Whether you're a total beginner or someone looking to level up your recipe game, this guide covers everything from choosing the right machine to fixing common problems.
How to Make Homemade Ice Cream with Electric Maker 2023
Store-bought ice cream is loaded with stabilizers, gums, and ingredients you can't pronounce. When you make it at home, you control exactly what goes in. That means real cream, real fruit, and zero mystery additives. Plus, you can experiment with flavors that no grocery store shelf would ever carry — think lavender honey, roasted banana, or spicy mango.
The best part? An electric ice cream maker handles the churning automatically. You don't need an old-fashioned hand crank or bags of rock salt. Just prep your base, pour it in, and let the machine work. In this post, you'll get a clear breakdown of when electric makers shine, what you can make with them, how they stack up against other methods, their honest pros and cons, and how to troubleshoot the most common issues.
When an Electric Ice Cream Maker Is Worth It (and When It's Not)
An electric ice cream maker isn't for everyone. But for the right person, it's one of the most satisfying kitchen gadgets you'll ever own. Here's how to figure out which camp you fall into.
You're a Good Fit If…
You make frozen treats more than twice a month. If ice cream, sorbet, or gelato is a regular thing in your house, the machine pays for itself fast.
You have kids who love picking wild flavor combinations. Getting them involved in the kitchen is a win.
You or someone in your family has dietary restrictions. Making your own means you can swap in milk substitutes like oat milk or coconut cream without compromising texture.
You enjoy hosting and want a showstopper dessert that takes almost no effort.
You're tired of paying $7-$9 for a pint of "premium" ice cream at the store.
You Might Want to Skip It If…
You only crave ice cream once or twice a year. A no-churn recipe (just cream and condensed milk in a loaf pan) will get the job done.
You have zero freezer space. Most affordable electric makers use a bowl that needs 12-24 hours of pre-freezing.
You want instant results. Even the fastest machines take 20-30 minutes of churn time, plus 2-4 hours of hardening in the freezer for a scoopable texture.
Counter space is already tight. The machine and its frozen bowl take up real estate.
If you landed in the "good fit" category, keep reading. The rest of this guide is built for you.
What You Can Make With Your Machine
Most people buy an electric ice cream maker thinking they'll just make vanilla. Then they discover the rabbit hole. Your homemade ice cream electric maker can handle way more than you'd expect.
Classic Flavors That Always Work
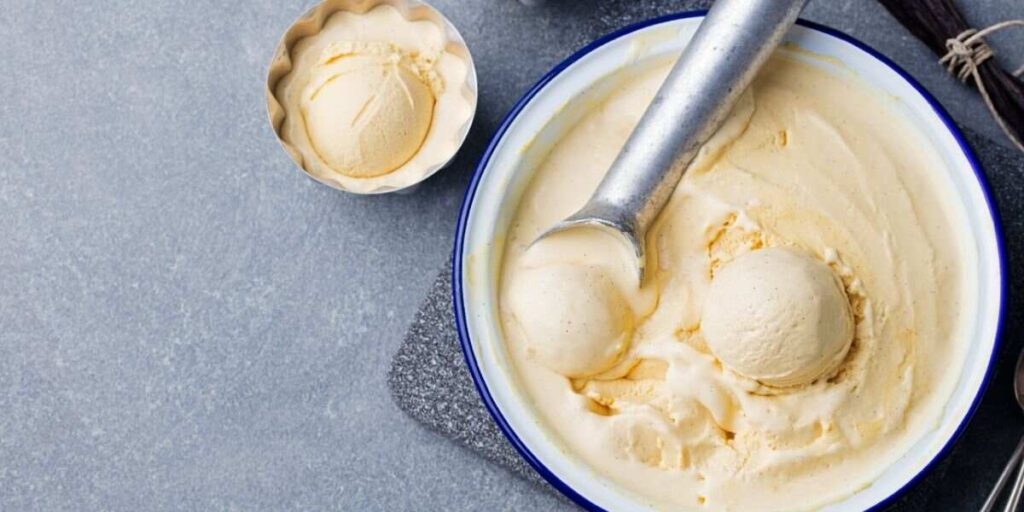
Vanilla Ice Cream
Start here if you're new. These recipes are forgiving and taste incredible:
Classic vanilla bean — 2 cups heavy cream, 1 cup whole milk, ¾ cup sugar, 1 tablespoon vanilla extract, pinch of salt. Whisk, chill, churn. Done.
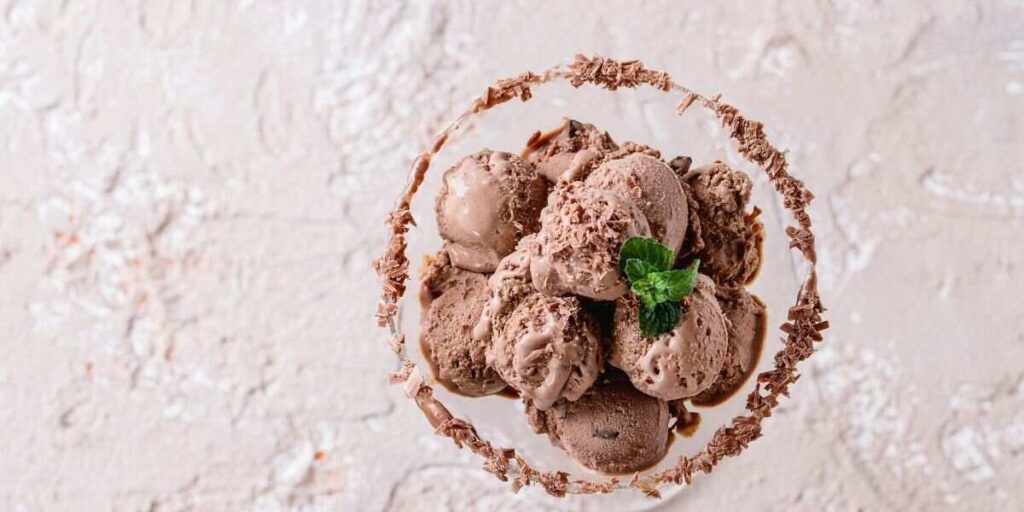
Rich chocolate — Same base, but melt 4 oz of dark chocolate into the warm cream before chilling. Use good chocolate. It makes all the difference.
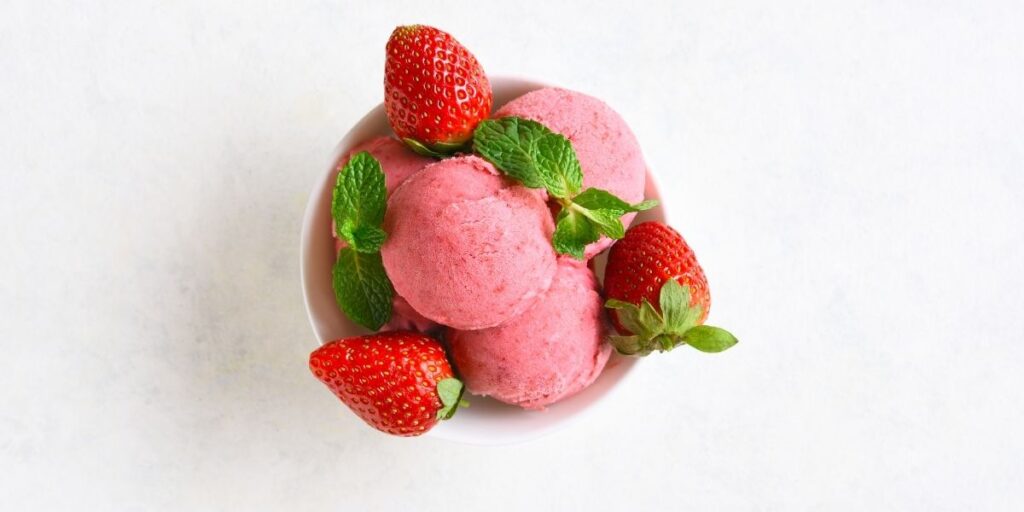
Fresh strawberry — Macerate 2 cups of sliced strawberries in ¼ cup sugar for an hour. Blend half, leave half chunky. Fold into a basic cream base before churning.
Cookies and cream — Crush 10-12 sandwich cookies. Add them in the last 5 minutes of churning so they stay chunky.
Berry Strawberry Ice Cream
Going Beyond the Basics
Once you're comfortable, try these:
Dairy-free sorbets — Fruit, sugar, water, and a squeeze of lemon. That's it. Mango sorbet is dangerously good. If you enjoy frozen fruit treats, you'll also love these smoothie recipes for a lighter option.
Gelato — Uses more milk than cream and churns at a slower speed. Many electric makers have a gelato setting.
Frozen yogurt — Swap the cream base for Greek yogurt. Add honey instead of sugar.
Boozy ice cream — A splash of bourbon, rum, or Kahlúa added in the last few minutes. Alcohol lowers the freezing point, so don't overdo it (2 tablespoons max per quart).
Savory options — Olive oil ice cream, sweet corn, or goat cheese with honey. Sounds odd. Tastes amazing at a dinner party.
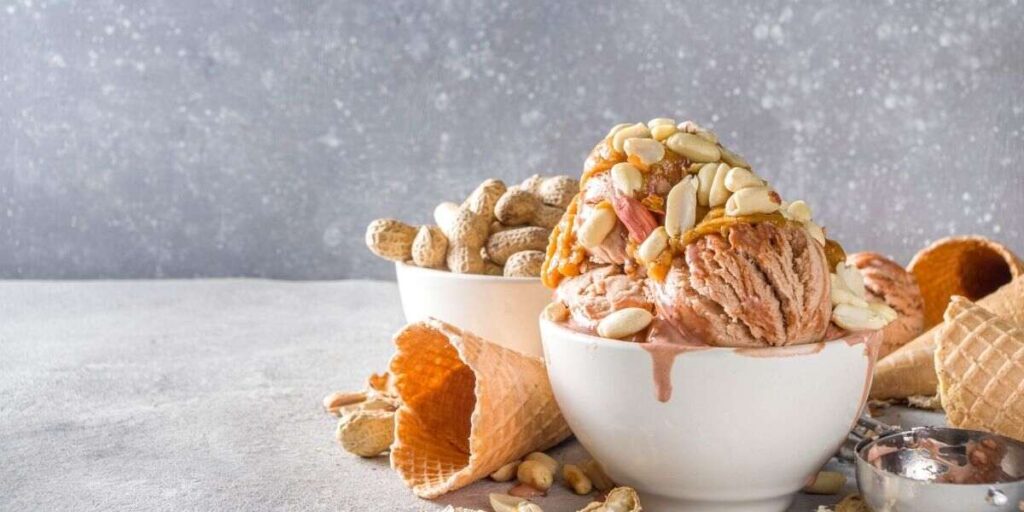
Creamy Peanut Butter Ice Cream
If you need a substitute for heavy cream, coconut cream is the best swap — it churns well and adds a subtle richness that works with most flavor profiles. You can also try cashew cream for a neutral taste.
Electric Maker vs. Other Methods at a Glance
You've got options when it comes to making ice cream at home. Here's how the homemade ice cream electric maker method compares to everything else.
Side-by-Side Comparison
Method
Hands-On Time
Total Time
Texture Quality
Cost
Best For
Electric maker (freeze bowl)
10 min
25-40 min + freeze
Excellent — smooth, creamy
$30-$70
Regular home use
Electric maker (compressor)
10 min
25-40 min + freeze
Excellent
$200-$400
Frequent batches, no pre-freeze
No-churn (hand method)
15 min
6-8 hours freeze
Good — slightly dense
$0 (no gear)
Occasional treats
Bag method (salt + ice)
20 min
20-30 min
Fair — often icy
$0
Kids' activity
Hand-crank maker
30-45 min
45-60 min + freeze
Good
$30-$60
Nostalgia, outdoor events
Ninja Creami / blade processor
5 min
24 hours freeze + 5 min
Very good
$150-$230
Single servings, protein blends
The Bottom Line on Methods
For most home cooks, a freeze-bowl electric maker hits the sweet spot of price, effort, and quality. You get creamy, professional-level results without spending $300+ on a compressor unit. The only trade-off is remembering to freeze the bowl ahead of time.
Compressor models are worth it if you churn multiple batches in one session — like prepping for a party or running a small home business. No-churn works in a pinch, but the texture never quite matches a properly churned batch.
Honest Pros and Cons of Electric Ice Cream Makers
I'm not going to sugarcoat this. Electric ice cream makers are great, but they're not perfect. Here's the real picture.
The Advantages
Consistent results every time. The motor keeps the paddle spinning at a steady speed, which incorporates air evenly. That's what gives you a smooth, creamy texture instead of an icy block.
Minimal effort. You prep the base (10 minutes of work), pour it in, press a button, and walk away. Compare that to 30+ minutes of hand-cranking.
Full control over ingredients. No high-fructose corn syrup, no guar gum, no mystery stabilizers. You know exactly what's in every bite. This matters especially if you're trying to eat more balanced meals.
Cost savings over time. A quart of homemade ice cream costs roughly $3-$5 in ingredients. A comparable premium pint at the store runs $7-$9. You break even on the machine after about 10-15 batches.
Endless customization. Want matcha with white chocolate chips? Salted caramel with pretzel pieces? Nobody's stopping you.
Great for dietary needs. Vegan, keto, low-sugar, nut-free — you can adapt any recipe without compromising taste.
The Drawbacks
Pre-freeze time. Freeze-bowl models need 12-24 hours of freezer time before you can use them. Forget to freeze the bowl, and you're stuck waiting.
Limited batch size. Most home models make 1-2 quarts at a time. If you're feeding a crowd, you'll need multiple batches (and multiple frozen bowls, ideally).
Storage space. The frozen bowl lives in your freezer full-time if you want it ready to go. That's a lot of freezer real estate. Knowing how to properly store frozen items helps you stay organized.
Soft-serve texture straight from the machine. You'll always need 2-4 hours of additional freezing for a true scoopable firmness. It's never grab-and-scoop straight from the churner.
Noise. Some models are surprisingly loud. Not deal-breaking, but worth noting if you're churning while the kids are asleep.
Double Chocolate Ice Cream
Fixing Common Homemade Ice Cream Problems
Even with an electric maker, things can go wrong. Here's how to diagnose and fix the most common issues with your homemade ice cream electric maker setup.
Texture Issues
Problem: Ice cream is too icy or grainy.
Your base wasn't cold enough before churning. Always chill it for at least 4 hours (overnight is better).
Too much water content. This happens with fruit-heavy recipes. Cook down your fruit puree to reduce water before adding it to the base.
Not enough fat. Fat is what makes ice cream smooth. Use at least a 2:1 ratio of heavy cream to milk. Don't try to make it "healthier" by cutting all the cream — you'll get flavored ice, not ice cream.
Add 1-2 tablespoons of corn syrup or invert sugar to your base. These sugars interfere with ice crystal formation and dramatically improve texture.
Problem: Ice cream is too soft and won't firm up.
Too much sugar or alcohol. Both lower the freezing point. Reduce sugar by 10-15% or cut your alcohol to 1-2 tablespoons per quart.
The freeze bowl wasn't frozen long enough. It needs a full 24 hours. Shake it — if you hear any liquid sloshing, it's not ready.
Your freezer isn't cold enough. Aim for 0°F (-18°C) or colder.
Problem: Ice cream tastes flat or bland.
Add a pinch of salt. Seriously. Salt amplifies sweetness and rounds out flavor in frozen desserts, just like it does in cooking.
Under-sweetened. Cold numbs your taste buds, so your base should taste slightly too sweet at room temperature. It'll be perfect once frozen.
Weak extracts. Use pure vanilla extract, not imitation. For chocolate, use Dutch-process cocoa or high-quality melting chocolate.
Machine and Process Issues
Problem: The paddle stops turning during churning.
The ice cream has gotten too thick for the motor. This usually means it's done — or your bowl was so cold that the mixture froze to the sides too fast.
Don't overfill. Most machines have a max line. The mixture expands as air gets incorporated, so fill to about ⅔ capacity.
If it keeps happening, your base might be too thick. Thin it with a splash of milk before churning.
Problem: The ice cream takes forever to churn.
Room temperature is too warm. Churn in an air-conditioned room, not a hot kitchen. Ambient heat fights the freeze bowl.
The base was warm when you poured it in. Never pour a warm base into the machine — you'll waste the bowl's cold capacity.
Old freeze bowl losing effectiveness. The gel inside degrades over years. If your bowl is 5+ years old, it might be time for a replacement.
Problem: Mix-ins sink to the bottom or get crushed.
Add them in the last 2-3 minutes of churning. If you add chocolate chips or cookie pieces at the start, they'll get pulverized.
Freeze your mix-ins before adding. Cold chunks hold their shape better in the churning base.
Cut mix-ins small — pea-sized is ideal. Large chunks jam the paddle.
Frequently Asked Questions
How long does homemade ice cream last in the freezer?
Homemade ice cream keeps for about 2-3 weeks in an airtight container. After that, ice crystals start forming on the surface and the texture degrades. Press a piece of plastic wrap directly onto the surface before sealing the lid — this prevents freezer burn. For best results, eat it within the first week.
Do I need to make a cooked custard base, or is an uncooked base fine?
An uncooked base (also called Philadelphia-style) works perfectly in an electric maker and takes half the time. The result is slightly less rich than a custard base, but most people can't tell the difference. Custard bases use egg yolks for extra creaminess, but they require tempering and cooling, which adds 30+ minutes to your prep. Start with uncooked — move to custard later if you want.
Can I use my electric ice cream maker to make dairy-free ice cream?
Yes. Coconut cream is the best dairy-free base because its high fat content churns smoothly. Cashew cream and oat milk work too, but you may need to add a tablespoon of tapioca starch to improve body. Avoid thin alternatives like almond milk or rice milk on their own — they produce icy results without a thickener.
Why does my homemade ice cream freeze rock-hard overnight?
Commercial ice cream stays soft because of stabilizers and emulsifiers. Your homemade version doesn't have those. The fix is simple: add 2 tablespoons of vodka or corn syrup per quart. Both lower the freezing point without affecting flavor noticeably. You can also let it sit on the counter for 5-10 minutes before scooping.
What's the difference between a freeze-bowl maker and a compressor maker?
A freeze-bowl maker uses a double-walled bowl filled with cooling gel that you pre-freeze. A compressor maker has a built-in refrigeration unit — no pre-freezing needed. Compressor models cost 3-5x more but let you churn back-to-back batches instantly. For most home cooks making one batch at a time, a freeze-bowl model is all you need.
How do I clean my electric ice cream maker?
Disassemble the paddle and bowl immediately after use. Wash them in warm (not hot) soapy water. Never put the freeze bowl in the dishwasher — the heat can damage the gel lining. The motor base just needs a wipe-down with a damp cloth. Dry everything completely before storing to prevent odors.
Next Steps
Freeze your bowl tonight. Stick it in the back of your freezer right now so it's ready within 24 hours. If you don't have a machine yet, grab a 1.5-quart freeze-bowl model — Cuisinart and Hamilton Beach both make reliable ones under $50.
Make a basic vanilla batch first. Use the recipe above (2 cups cream, 1 cup milk, ¾ cup sugar, vanilla, salt). Master this before you get creative. Once you nail the base, every other flavor is just a variation.
Stock your freezer with mix-ins. Buy a bag of chocolate chips, some cookie pieces, and a jar of caramel sauce. Pre-freeze them in small portions so they're ready to toss in during the last few minutes of any churn session.
Try one adventurous flavor within your first week. Pick something you can't buy at the store — peanut butter banana, espresso with toffee bits, or a fresh fruit sorbet. That's when the machine really proves its value.
Keep a recipe notebook. Write down your ratios, what worked, and what didn't. Homemade ice cream is part science, part art — and your notes are how you get better every batch.
Rick Goldman grew up traveling the Pacific Coast and developed an early appreciation for regional and international cuisines through exposure to diverse food cultures from a young age. That culinary curiosity shaped his approach to kitchen gear — he evaluates tools based on how well they perform across different cooking styles, ingredient types, and meal occasions. At BuyKitchenStuff, he covers kitchen equipment reviews, recipe guides, and food-focused buying advice.